It all started when I was still in culinary school; while waiting for our sourdough to ferment, my chef instructor took out a mason jar filled with a tea-like liquid and poured all 14 of us a paper cup full of an I-don’t-know-what substance.

At first sip, it was tart and fizzy. The kick of acidity was strong yet strangely addictive. After a while, its underlying sweetness set in and from then on, I was hooked. This was my virgin venture into the world of kombucha.
By now, I’m pretty sure most of you would have heard of this fermented beverage. The question is: is kombucha really a miracle super drink or is it just a weird wellness fad brought to fame by Hollywood celebrities?
Today, kombucha has made its way from residing mostly in the realm of hippies to a staple with a permanent spot in major hypermarkets. Before we decide if this is really good for our body, let’s delve a little more into this ancient food alchemy and getting our hands dirty with our very first brew—one I’m sure your wallet will approve!
‘Tea of immortality’
Also known as the ‘Tea of Immortality’, kombucha made its first appearance in China more than 2,000 years back. Over time, western countries such as the United States caught on with the beverage’s medicinal properties leading to its modern age revival in the 90s.

Made primarily with sweetened black tea, this fermented beverage is loaded with probiotics, amino acids, anti-oxidants, and chock-full of good things our guts and intestines love. While there is no scientific evidence on its ability to combat diseases such as cancer, I swear by kombucha in clearing my bowels. Trust me on this; I’ve bid constipation goodbye ever since I started consuming my daily cup of home-made kombucha.
Not only that, but I also know of fellow regular drinkers exclaiming how much their skin improved and brightened after embarking on a kombucha journey. This miracle beverage is also said to be able to regulate cholesterol and improve blood pressure—a win-win for your body, both inside and out.
Your friend for life—the SCOBY
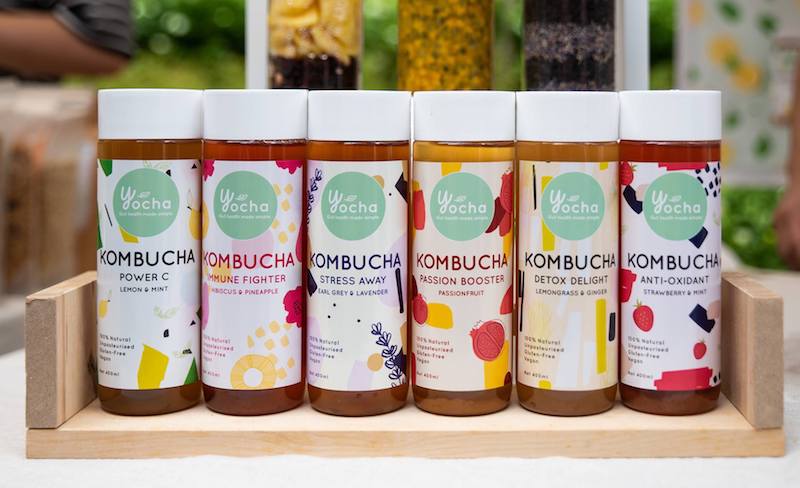
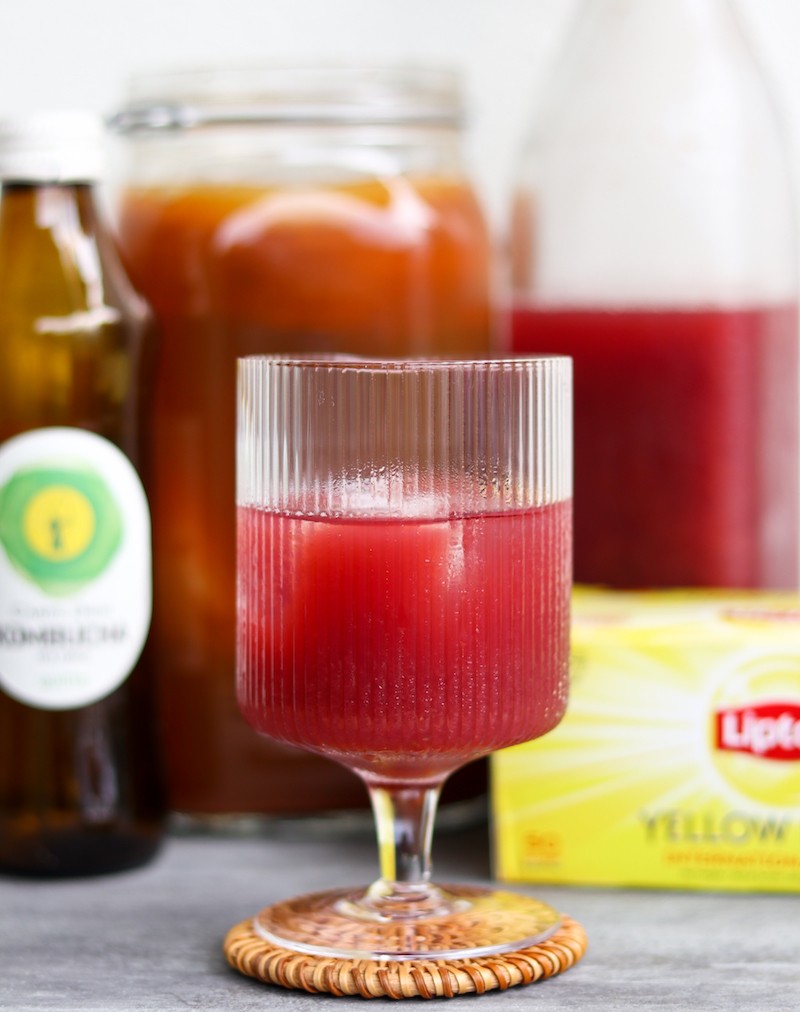
If you are new to kombucha and would like to have a taste of it, I highly recommend you to get a ready-brewed bottle. Commercial brands aside, local tea breweries such as Yocha and Fizzicle Kombucha are also selling their unique creations online.
For those of you who are ready to transform a part of your kitchen to an in-house brewery, making your very own kombucha is indeed a relatively simple process. But before we get into the nitty-gritty details, you have to first befriend a rubbery pancake-like blob—the SCOBY.

The mother to the gallons of kombucha you will be brewing, SCOBY (Symbiotic Culture of Bacteria and Yeast) is a culture of bacteria and yeast that consumes most of the sugar in your sweetened tea during the fermentation process. Acetic acid, gas and small amounts of alcohol are produced as by-products, resulting in the fizzy, fermented beverage that is relatively low in calories.
Most recipes will call for the addition of an active kombucha SCOBY for your first brew. Fellow kombucha brewers will have plenty to share (DM me for a slice anytime!), otherwise, you can also find them for sale on Shopee and Lazada. But if you have the time, why not make your SCOBY from scratch?

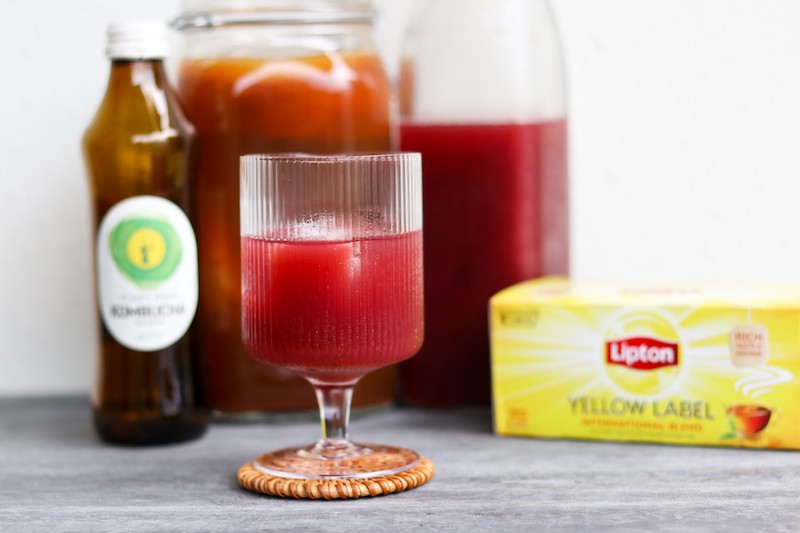
All you need to do is add half a bottle of plain store-bought kombucha to a cup of cooled black tea, sweetened with two to three tablespoons of white sugar. Thereafter, transfer the mixture into a jar and cover it with a towel.
Allow the beverage to ferment away from sunlight at room temperature for at least a week. A jelly-like layer will start forming on the surface of the liquid and voilà, your SCOBY is formed.
Your first brew
Having brewed kombucha for almost a year, brewing for me has now become a fuss-free process with little to no measurements and tons of experimentations.
For a start, here is a guideline of measurements which you can follow should you feel comfort in exact weights. Once you are comfortable and have a jar full of unlimited SCOBY, feel free to experiment with different tea leaves, sweeteners and play with the unlimited flavour pairings using different fruits and even spices.
Ingredients

First fermentation
- Kombucha SCOBY
- 2 litres water
- 1 cup of unflavoured kombucha (commercial or from the previous batch)
- 6 tea bags or 4 tbsp of loose tea (black or green)
- 100g sugar
Second fermentation
- Any fresh fruit/ fruit puree/ fruit juice of your choice
- Sweetener (optional)
Tools
- Pot
- Glass mason jar
- Woven cloth
- Rubber band
- Measuring cup
- Strainer
- Funnel
- Glass narrow neck bottle
- Spatula/ spoon
- Juicer/ blender (optional)
Recipe preparation
Preparation time (first fermentation): 25 to 30 minutes; Fermentation time: 7 to 21 days
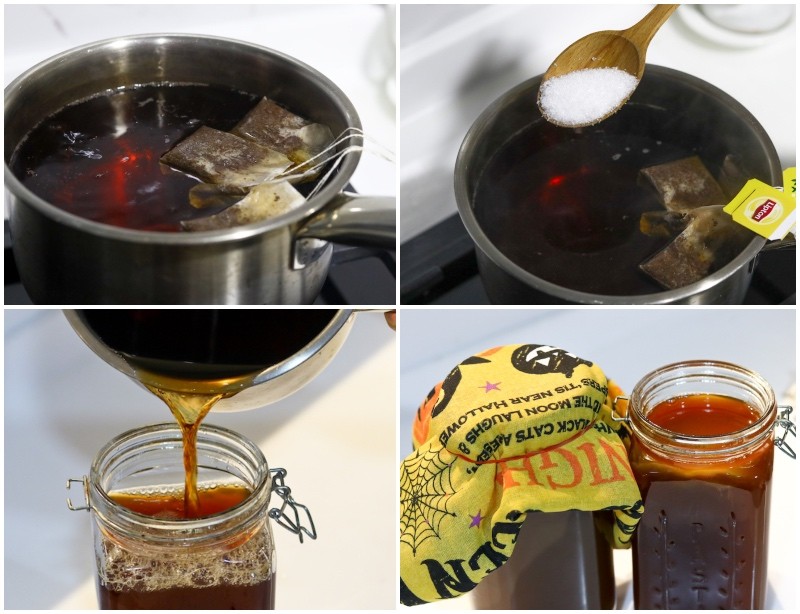
- Boil water, remove from heat and steep tea bags for 5 to 10 minutes.
- Dissolve sugar in the tea mixture. Ice bath the tea mixture and bring it down to room temperature.
- In a sterilised mason jar, pour sweetened tea and plain kombucha. Mix well.
- Ensure your hands are clean before placing the SCOBY into the jar of tea.
- Cover the jar with woven cloth and secure it with a rubber band.
- Place the mason jar away from direct sunlight at room temperature for 7 to 21 days.
- Taste your kombucha after the first fermentation. It should be tangy and slightly sweet. The mixture will smell similar to vinegar and visually, your SCOBY should have grown thicker.
- Reserve 1 to 2 cups of kombucha as the starter for your next batch and use the remaining for the second fermentation.

Preparation time (second fermentation): 15 minutes; Fermentation time: 7 to 12 days
- Strain and funnel kombucha into a glass narrow neck bottle, leaving approximately 5cm space.
- Blend or juice fruit of your choice and add it into the bottle of kombucha. If you feel that your fruit is too sour, feel free to add more sweetener.
- Seal the bottle tightly and place it somewhere dark at room temperature for at least 7 days.
- After 7 days, you should see bubbles forming on the surface and your Kombucha is ready to be consumed.
- Place your bottle of kombucha in the fridge to slow down the carbonation process. If you want it to be fizzier, leave your kombucha outside for 3 more days.
Road to perfection: Tips & Tricks
Now that you know how to brew your own ‘Tea of Immortality’, here are some know-hows which I have learnt throughout my journey of kombucha-making. These make for good tips, to ensure your babies don’t go to waste.

- When making your own SCOBY, make sure you use black tea as it creates the most reliable and easiest environment for the SCOBY to grow.
- Do not muck around with your jar when the SCOBY is growing. The thin, translucent layer will thicken and in the process, it might float sideways or even sink to the bottom. But there’s no cause for worry, just let the SCOBY do its thang and trust that all will be fine.
- The more batches of Kombucha you brew, the thicker the SCOBY will become. Feel free to peel them (with clean hands of course) and share them with your friends. Otherwise, build your own ‘SCOBY hotel’ to ensure you have extra on hand as and when you need them.
- Your SCOBY likes things plain so keep flavourings, oils and extracts away from them. That means, no flavoured or herbal teas should be used during the first fermentation as it will weaken your SCOBY over time. Stick to teas from a single plant species with no fusions for best nutrients to feed your SCOBY.
- Do not store your SCOBY in the fridge as the cold temperature will cause it to become dormant. The risk for mould formation will also increase by doing so.
- There’s no need to worry if you see brown stringy bits on your SCOBY. These are yeasts that help in carbonation. Mould will usually grow on the surface of the kombucha. If you see black or blueish furry patches, immediately discard the entire vessel of kombucha and sterilise your jar before reusing it.
- During the second fermentation, your bottle might explode from the pressure build-up due to carbonation. When you start seeing continuous bubbling in your bottle, open the bottle to release the gas. You can also put your bottle in the fridge to slow down the rate of fermentation when it’s ready to be served.
There you have it. Your fool-proof first-timer guide to home-brewed kombucha. This might seem like a long and tedious process, but once you get the hang of it, brewing will be a walk in the park.
Who knows, your entire bottle of kombucha might even cost less than half the price of those bought off the shelf. If it means a cheaper and healthier option that’s home-made, why not?