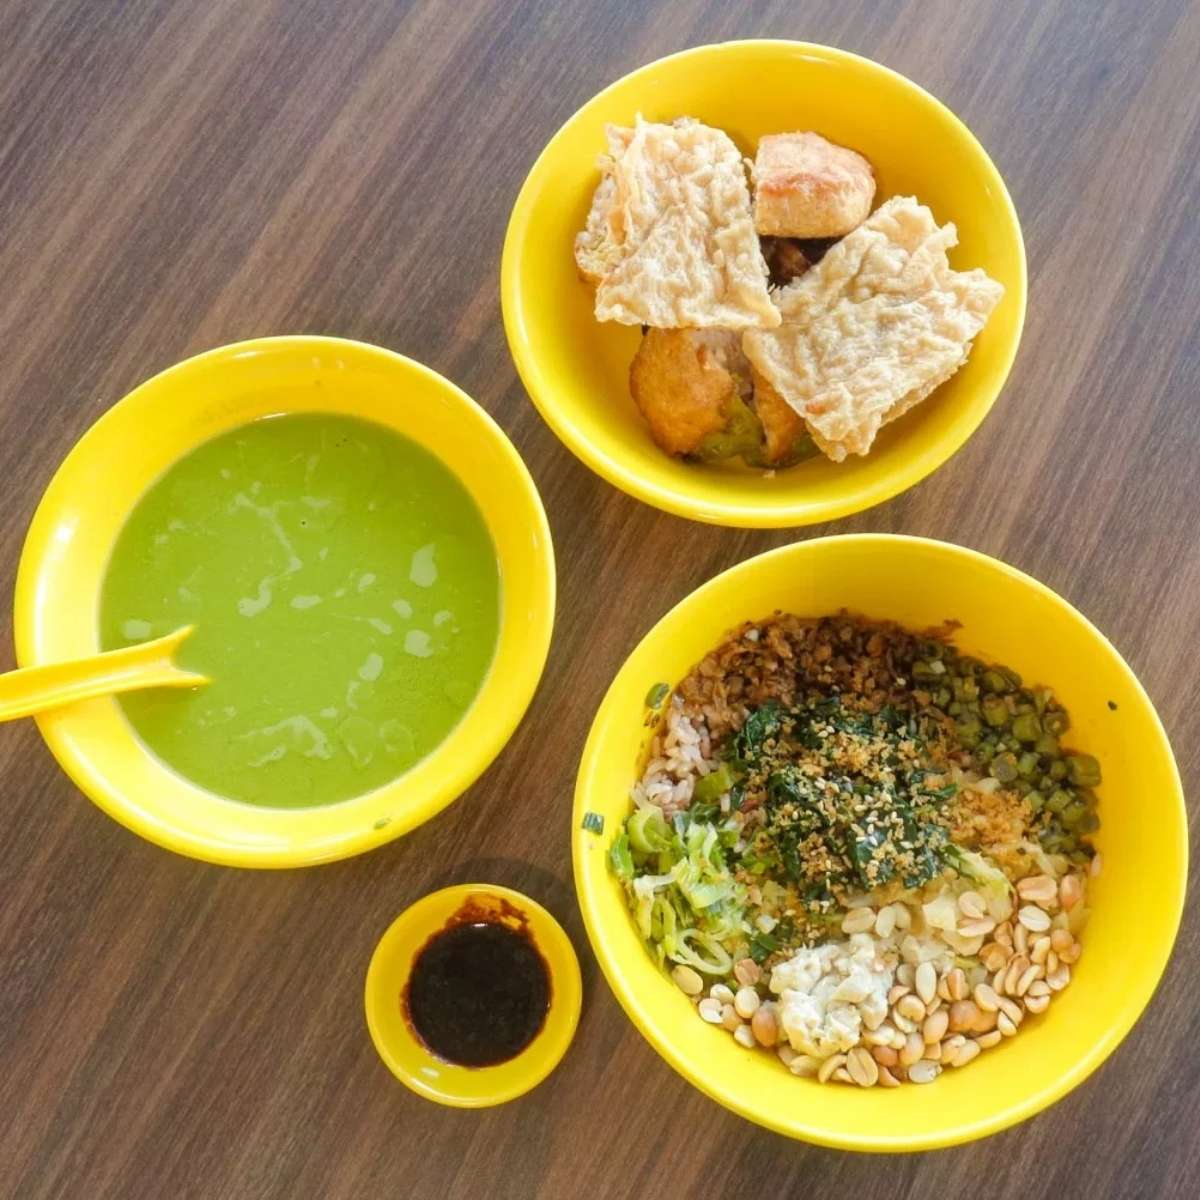
Whether it’s thick and chewy or thin and crisp, min jiang kueh has been a staple breakfast and snack item well-loved by Singaporeans. Also known as appam balik, peanut pancake or ban jian kuih, this snack item is so versatile it can be stuffed with almost any ingredient under the sun.
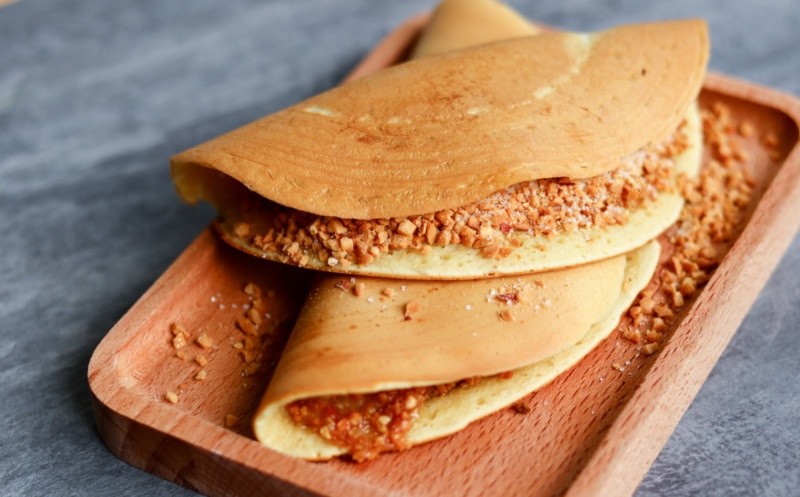
The likes of traditional min jiang kueh from hawker stalls with years of history like Frankie’s Peanut Pancake and Granny’s Pancake aside, many eateries such as The Pantree are also coming up with modern variations of this dish. If you are missing the mid-day tea time min jiang kueh which you often get during lunch to curb your hunger pangs in the office pre-COVID-19, why not learn how to re-create this old-school snack with us in your kitchen?
In this series of our simple stay-home recipes, we present to you a No Yeast Home-made Min Jiang Kueh. A simplified version that is yeast-less (thank God) and requires only 30 minutes of resting time before you and your family can indulge in its hearty goodness!
Ingredients

Pancake
- 180g all-purpose OR plain flour
- 100g rice flour
- 1/2 tsp baking soda
- 1/2 tsp salt
- 2 tsp baking powder
- 60g caster sugar
- 120g water
- 60g milk
- 2 eggs
Filling
- 1 packet ground peanuts
- Caster sugar
- 1 can creamy sweet corn
- Butter
Tools
- Sieve
- Scoop
- Whisk
- Kitchen scale
- Mixing bowl
- Pan
- Cling film
- Kitchen towel
Recipe Preparation
Preparation time: 15 minutes; Resting time: 30 minutes; Cooking time: 10 minutes
Feeds four (approx. 8 pieces)
- Measure your ingredients and set them aside.
- In a mixing bowl, sieve both flours, baking soda, and baking powder.
- Add salt and sugar into the dry ingredients and mix well.
- Combine all the wet ingredients (water, milk, and eggs) to the dry ingredients and whisk till a smooth mixture is formed.
- Cling wrap the mixture on contact and allow the batter to rest in the fridge for at least 30 minutes.
- While the mixture is resting, mix the caster sugar with ground peanuts according to your preference. If you are using whole roasted peanuts, crush the peanuts to your preferred coarseness with either a grinder or mortar and pestle.
- In a heated pan, add oil and use a kitchen towel to spread the oil evenly on the pan’s surface.
- Add a thin layer of batter onto the pan. Using the back of your scoop, swirl the batter in a circular motion to ensure they are evenly and thinly spread.
- At medium heat, allow the batter to cook for 3 – 4 minutes. When the sides start browning and bubbles are seen forming on the surface, the batter is almost ready.
- Spread butter on the pancake and fill it with the desired amount of peanut and cream corn filling.
- Fold the pancake into half and serve.
Recipe (In pictures)
Step 1: Measure your ingredients and set them aside.
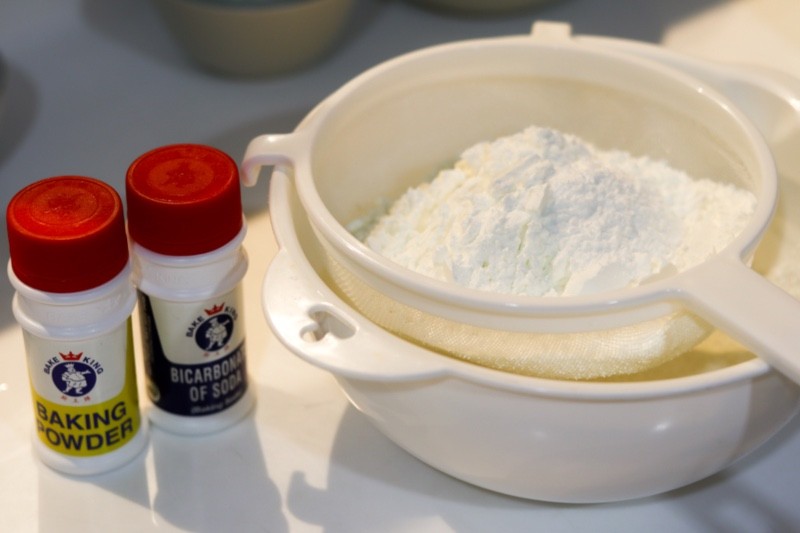
Step 2: In a mixing bowl, sieve both flours, baking soda, and baking powder.

Step 3: Add salt and sugar into the dry ingredients and mix well.

Step 4: Combine all the wet ingredients (water, milk, and eggs) to the dry ingredients and whisk till a smooth mixture is formed.
Step 5: Cling wrap the mixture on contact and allow the batter to rest in the fridge for at least 30 minutes.

Step 6: While the mixture is resting, mix the caster sugar with ground peanuts according to your preference. If you are using whole roasted peanuts, crush the peanuts to your preferred coarseness with either a grinder or mortar and pestle.
Step 7: In a heated pan, add oil and use a kitchen towel to spread the oil evenly on the pan’s surface.

Step 8: Add a thin layer of batter onto the pan. Using the back of your scoop, swirl the batter in a circular motion to ensure they are evenly and thinly spread.

Step 9: At medium heat, allow the batter to cook for 3 – 4 minutes. When the sides start browning and bubbles are seen forming on the surface, the batter is almost ready.

Step 10: Spread butter on the pancake and fill it with the desired amount of peanut and cream corn filling.
Step 11: Fold the pancake into half and serve.

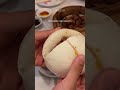
If you are one that prefers thin pancake with a higher filling to skin ratio, this recipe is a must-try. The pancake skin was slightly chewy with a light and airy mouthfeel. Due to the addition of rice flour, my Homemade Min Jiang Kueh yielded an extra crunch and crisp texture especially at the sides of the pancakes which was spread thinner.
The best part of these Homemade Min Jiang Kuehs was the generous peanut filling that was falling out from the pancake with every bite I took! Greedy as always, I filled my min jiang kueh to its maximum capacity with peanut and sugar filling resulting in a pancake that was filled with sweet nuttiness and subtle burnt caramel notes from the ground peanuts that was roasted beforehand (a little tip for those of your who want your peanut filling to be more aromatic and nutty).

Most online recipes for min jiang kueh calls for the use of yeast, however, it is not necessary as the addition of baking powder and baking soda will help the batter rise and bubble during the cooking process. The only distinct difference that you might realise is that the Homemade Min Jiang Kueh prepared without the yeast will not show the characteristic honeycomb structure and is thus, not as fluffy as those made using yeast.
If you are feeling adventurous, why not try filling your min jiang kueh with something savoury aside from the usual peanut, coconut and, red bean? Trust me, these will make good tea time snacks even with ham and cheese. The possibilities are endless so let your creative juices flow and share with us your version of this Homemade Min Jiang Kueh!
Expected Damage: S$1 – S$1.20 per serving