I love cheese. All kinds of cheeses— from Cheddar to Mozzarella to Monterey Jack to Pecorino. Speaking of cheese, the versatility of these dairy angels are exceptional. I can have a grilled cheese sandwich one day and a loaded cheese pizza the next. The possibilities are endless! Hence, when I heard of Tillamook’s range of cheeses, I knew I had to try them all.
Tillamook is an American brand with over 100 years of history and experience under its belt. The farmer-owned dairy cooperative produces high-quality cheeses and ice cream.
I absolutely love how Tillamook’s products are made the right way— with real ingredients, made with love. And really, is there anything better than that?

I got myself three packets of Tillamook’s cheese: Mozzarella, Smoked Black Pepper and Sharp Cheddar. Honestly, the sceptic in me has had pretty subpar cheese over the years. But I was still excited to put my tastebuds to the test. A cheese test, if you will.
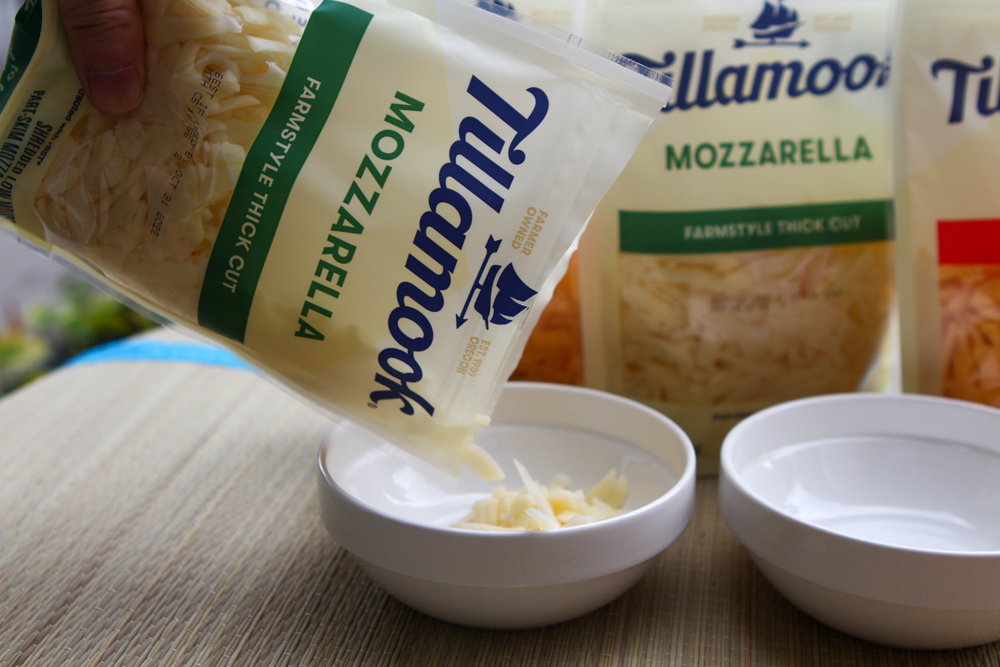
Their signature farm-style thick-cut immediately stood out. The Mozzarella exploded with creaminess, and fresh buttery notes, and can be eaten as is. As the cheese is made using high-quality milk from cows that are not treated with artificial growth hormones (rBST), I was able to taste its freshness from my first bite.
I also learned that the thick-cut style produces more flavour and better melt.

Unlike the Medium Cheddar, which I’m used to having, the Sharp Cheddar comes with rich tasting notes. Made with premium milk and aged for a minimum of nine months, the Sharp Cheddar is milky, buttery, and comes with a complex finish. Despite its sharp flavours, it is not as intense as I thought it would be, which made it easy to combine it with other cheeses.

The Smoked Black Pepper was an instant favourite. It was smooth and milky, finished with a hickory smoke-flavoured black peppercorns for a smoky aftertaste. If you love bacon, I’d recommend this. Needless to say, the snack portions made it difficult to stop at one. I was in cheese heaven.
To put Tillamook’s cheeses to the test, I decided to make a little snack with their Mozzarella and Sharp Cheddar; baked Mac & Cheese Cups (for four to six pax).
Ingredients
- 130gm elbow macaroni
- 35gm flour
- 3 cups milk
- 80gm butter
- 3 cups sharp cheddar
- 2 cups mozzarella
- 4 tablespoons chilli flakes (optional)
- ½ cup panko breadcrumbs (optional)
- Salt
- Pepper
Tools
- 1 frying pan
- 1 whisk
- 1 muffin tray
- Knife and chopping board
- Strainer
- Weighing scale
- Bowls
- Measuring cup
Recipe Preparation
Preparation time: 10 mins; Cooking time 40 mins
Feeds four
- Place flour, elbow macaroni, butter, sharp cheddar, mozzarella, and breadcrumbs in a bowl
- Pour elbow macaroni in lightly salted boiling water; leave to boil for five minutes (or till al dente) then strain and set aside
- Put butter in frying pan and simmer over medium heat
- Once the butter has melted, gradually pour flour in and whisk well
- Add 1½ cups of milk into the mixture as soon as clumps begin to form; whisk for 8 minutes (or till mixture turns smooth)
- Add chilli flakes (optional), a pinch of salt and pepper for taste, and remaining milk and butter (optional) to form a creamy roux
- Add elbow macaroni to the roux and mix well
- Add cheeses in and coat elbow macaroni thoroughly
- Add salt and pepper for taste
- Butter the base of the muffin tray moulds, and place a spoonful of creamy mac & cheese in each mould
- Top with more cheese and breadcrumbs (optional)
- Preheat the oven to 200°C and place the tray in for 12 minutes (or till the cups turn golden brown)
- Remove from the oven to cool for five minutes, and serve
Recipe in Pictures
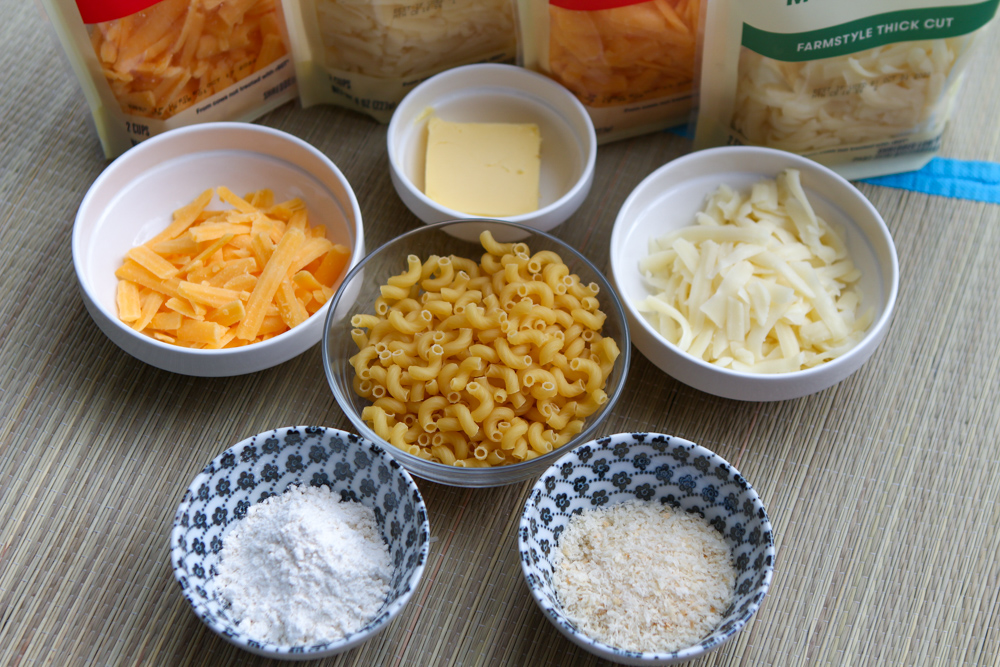
Step 1: Place flour, elbow macaroni, butter, sharp cheddar, mozzarella, and breadcrumbs in a bowl.

Step 2: Pour elbow macaroni in lightly salted boiling water; leave to boil for five minutes (or till al dente) then strain and set aside.
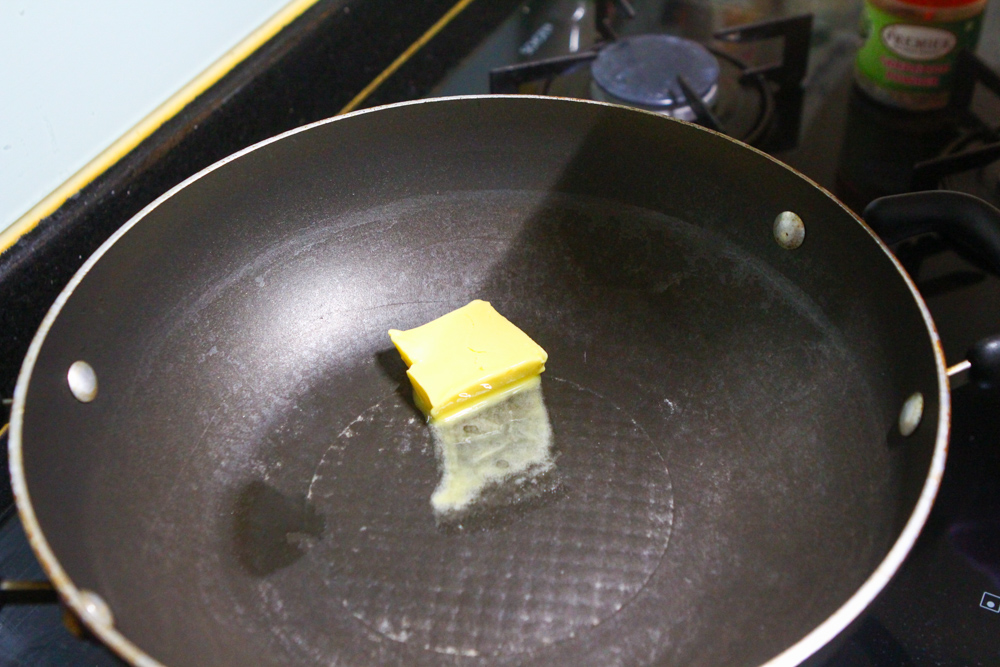
Step 3: Put butter in a frying pan and simmer over medium heat.
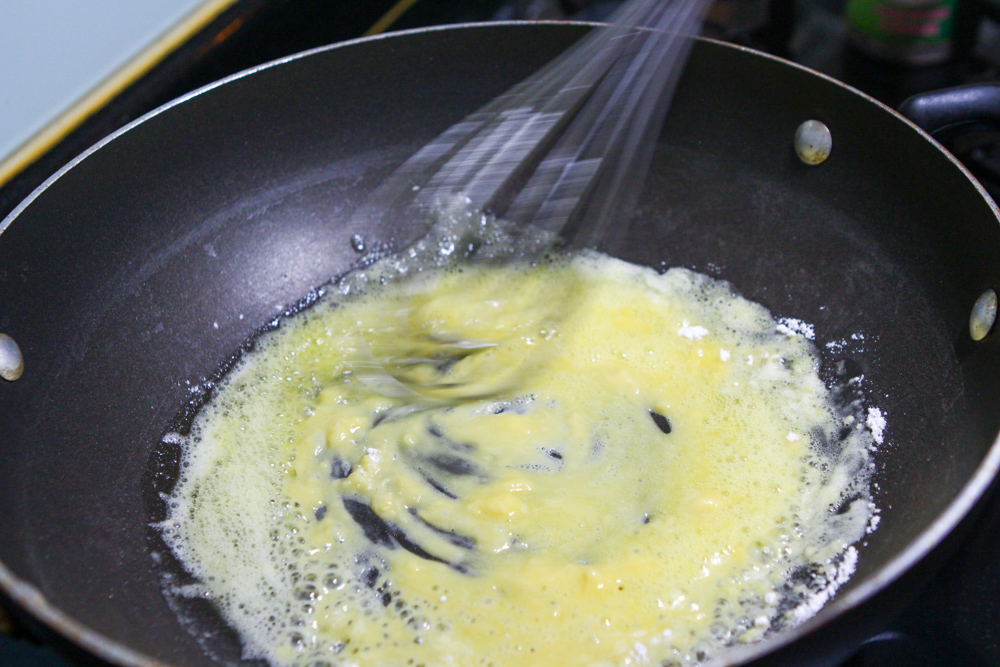
Step 4: Once the butter has melted, gradually pour flour in and whisk well.

Step 5: Add 1½ cups of milk into the mixture as soon as clumps begin to form; whisk for 8 minutes (or till mixture turns smooth).

Step 6: Add chilli flakes (optional), a pinch of salt and pepper for taste, and remaining milk and butter (optional) to form a creamy roux.

Step 7: Add elbow macaroni to the roux and mix well.


Step 8: Add cheeses in and coat elbow macaroni thoroughly.

Step 9: Add salt and pepper for taste.
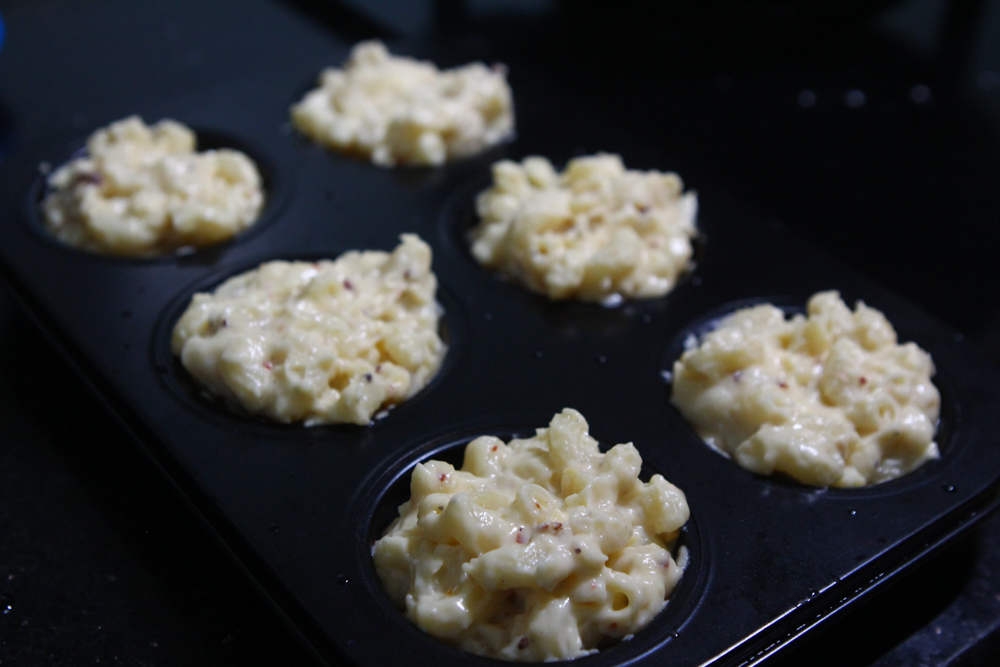
Step 10: Butter the base of the muffin tray moulds, and place a spoonful of creamy mac & cheese in each mould.
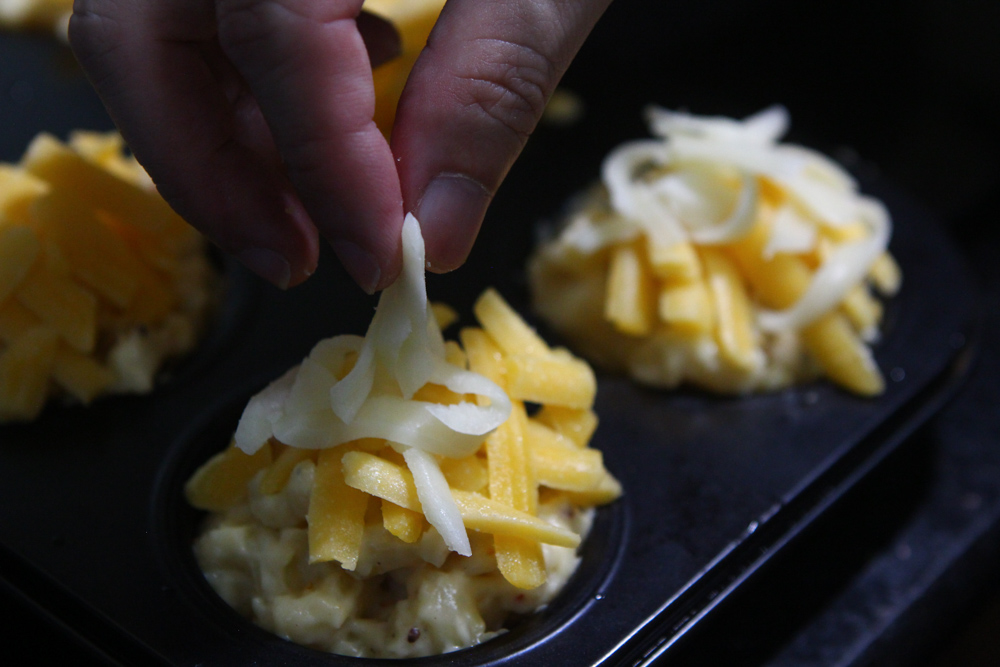
Step 11: Top with more cheese and breadcrumbs (optional).

Step 12: Preheat the oven to 200°C and place the tray in for 12 minutes (or till the cups turn golden brown).

Step 13: Remove from the oven to cool for five minutes, and serve.

Mac & Cheese Cups have always been my go-to snack, however, I was never able to get the right creamy and cheesy consistency. It all changed when I used a combination of Tillamook’s Sharp Cheddar Cheese and Mozzarella. Not only did the thick cuts melt in record time, but it also elevated the taste profiles of the cups. The addition of chilli flakes helps to balance the creaminess from the cheeses with a bit of heat; giving the cups a bit of spicy personality.
Tillamook may just have taken the spot as my favourite cheese brand now!
*This post is brought to you in partnership with Tillamook.
Other articles you might like:
Bakerdoo: Muslim-owned cafe with sambal-filled fried breaded buns & more